Neovim moves fast. If you want to stay on the bleeding edge, you have to install the latest version directly from the releases page.
Note: If you don't want to stay on the bleeding edge, just running the homebrew command brew install neovim will have everything setup and running in just a few seconds.
Install Neovim
There are many ways to go about this. The easiest way IMO is to download the executable from the GitHub releases page and create an alias to the downloaded executable in ~/.zshrc.
Note: You cannot move files into the bin directory in MacOS like you do in Linux systems.
- Go to the release page and pick the version you want to install.
- Follow the steps and extract the
nvim-macos-*.tar.gzfile in your Downloads directory. - Create a new directory called
binin your home directorymkdir ~/bin. - Move the extracted nvim directory to the newly created bin directory
mv ~/Downloads/nvim-macos-your-version ~/bin/. - Open your
~/.zshrcor~/.bashrcusing your existing editor. Eg.code ~/.zshrcornano ~/.zshrc. - Add an alias to the nvim executable at the end of the rc file.
alias nvim="$HOME/bin/nvim-macos-your-version/bin/nvim". Save the changes. - Source the latest rc Eg.
source ~/.zshrcorsource ~/.bashrcto refresh your shell. Alternatively you can also restart your terminal. - All done. You can now use the
nvimcommand to start neovim from your terminal.
Making the most out of your Neovim
Neovim in itself is a powerful text editor but to get the full IDE experience that you usually get in editors like VSCode, you will need use configs like AstroNvim or NvChad. I usually go with AstroNvim as it involves the least amount of setup steps and there are plenty of community plugins that you can just plug and play to get the functionality you want.
I'm not going to in the details of how to setup AstroNvim. Their Get Started docs does a pretty good job of it. I will however write a few steps that I usually follow whenever I install a fresh copy of neovim.
- Install neovim
- Install AstroNvim
- Setup the community.lua file
- Add a few community themes to the
community.luafile. My favourites aregruvboxanddracula. - Add a few community packs to add language, formatting and syntax highlighting support. For example, typescript.
- Restart nvim.
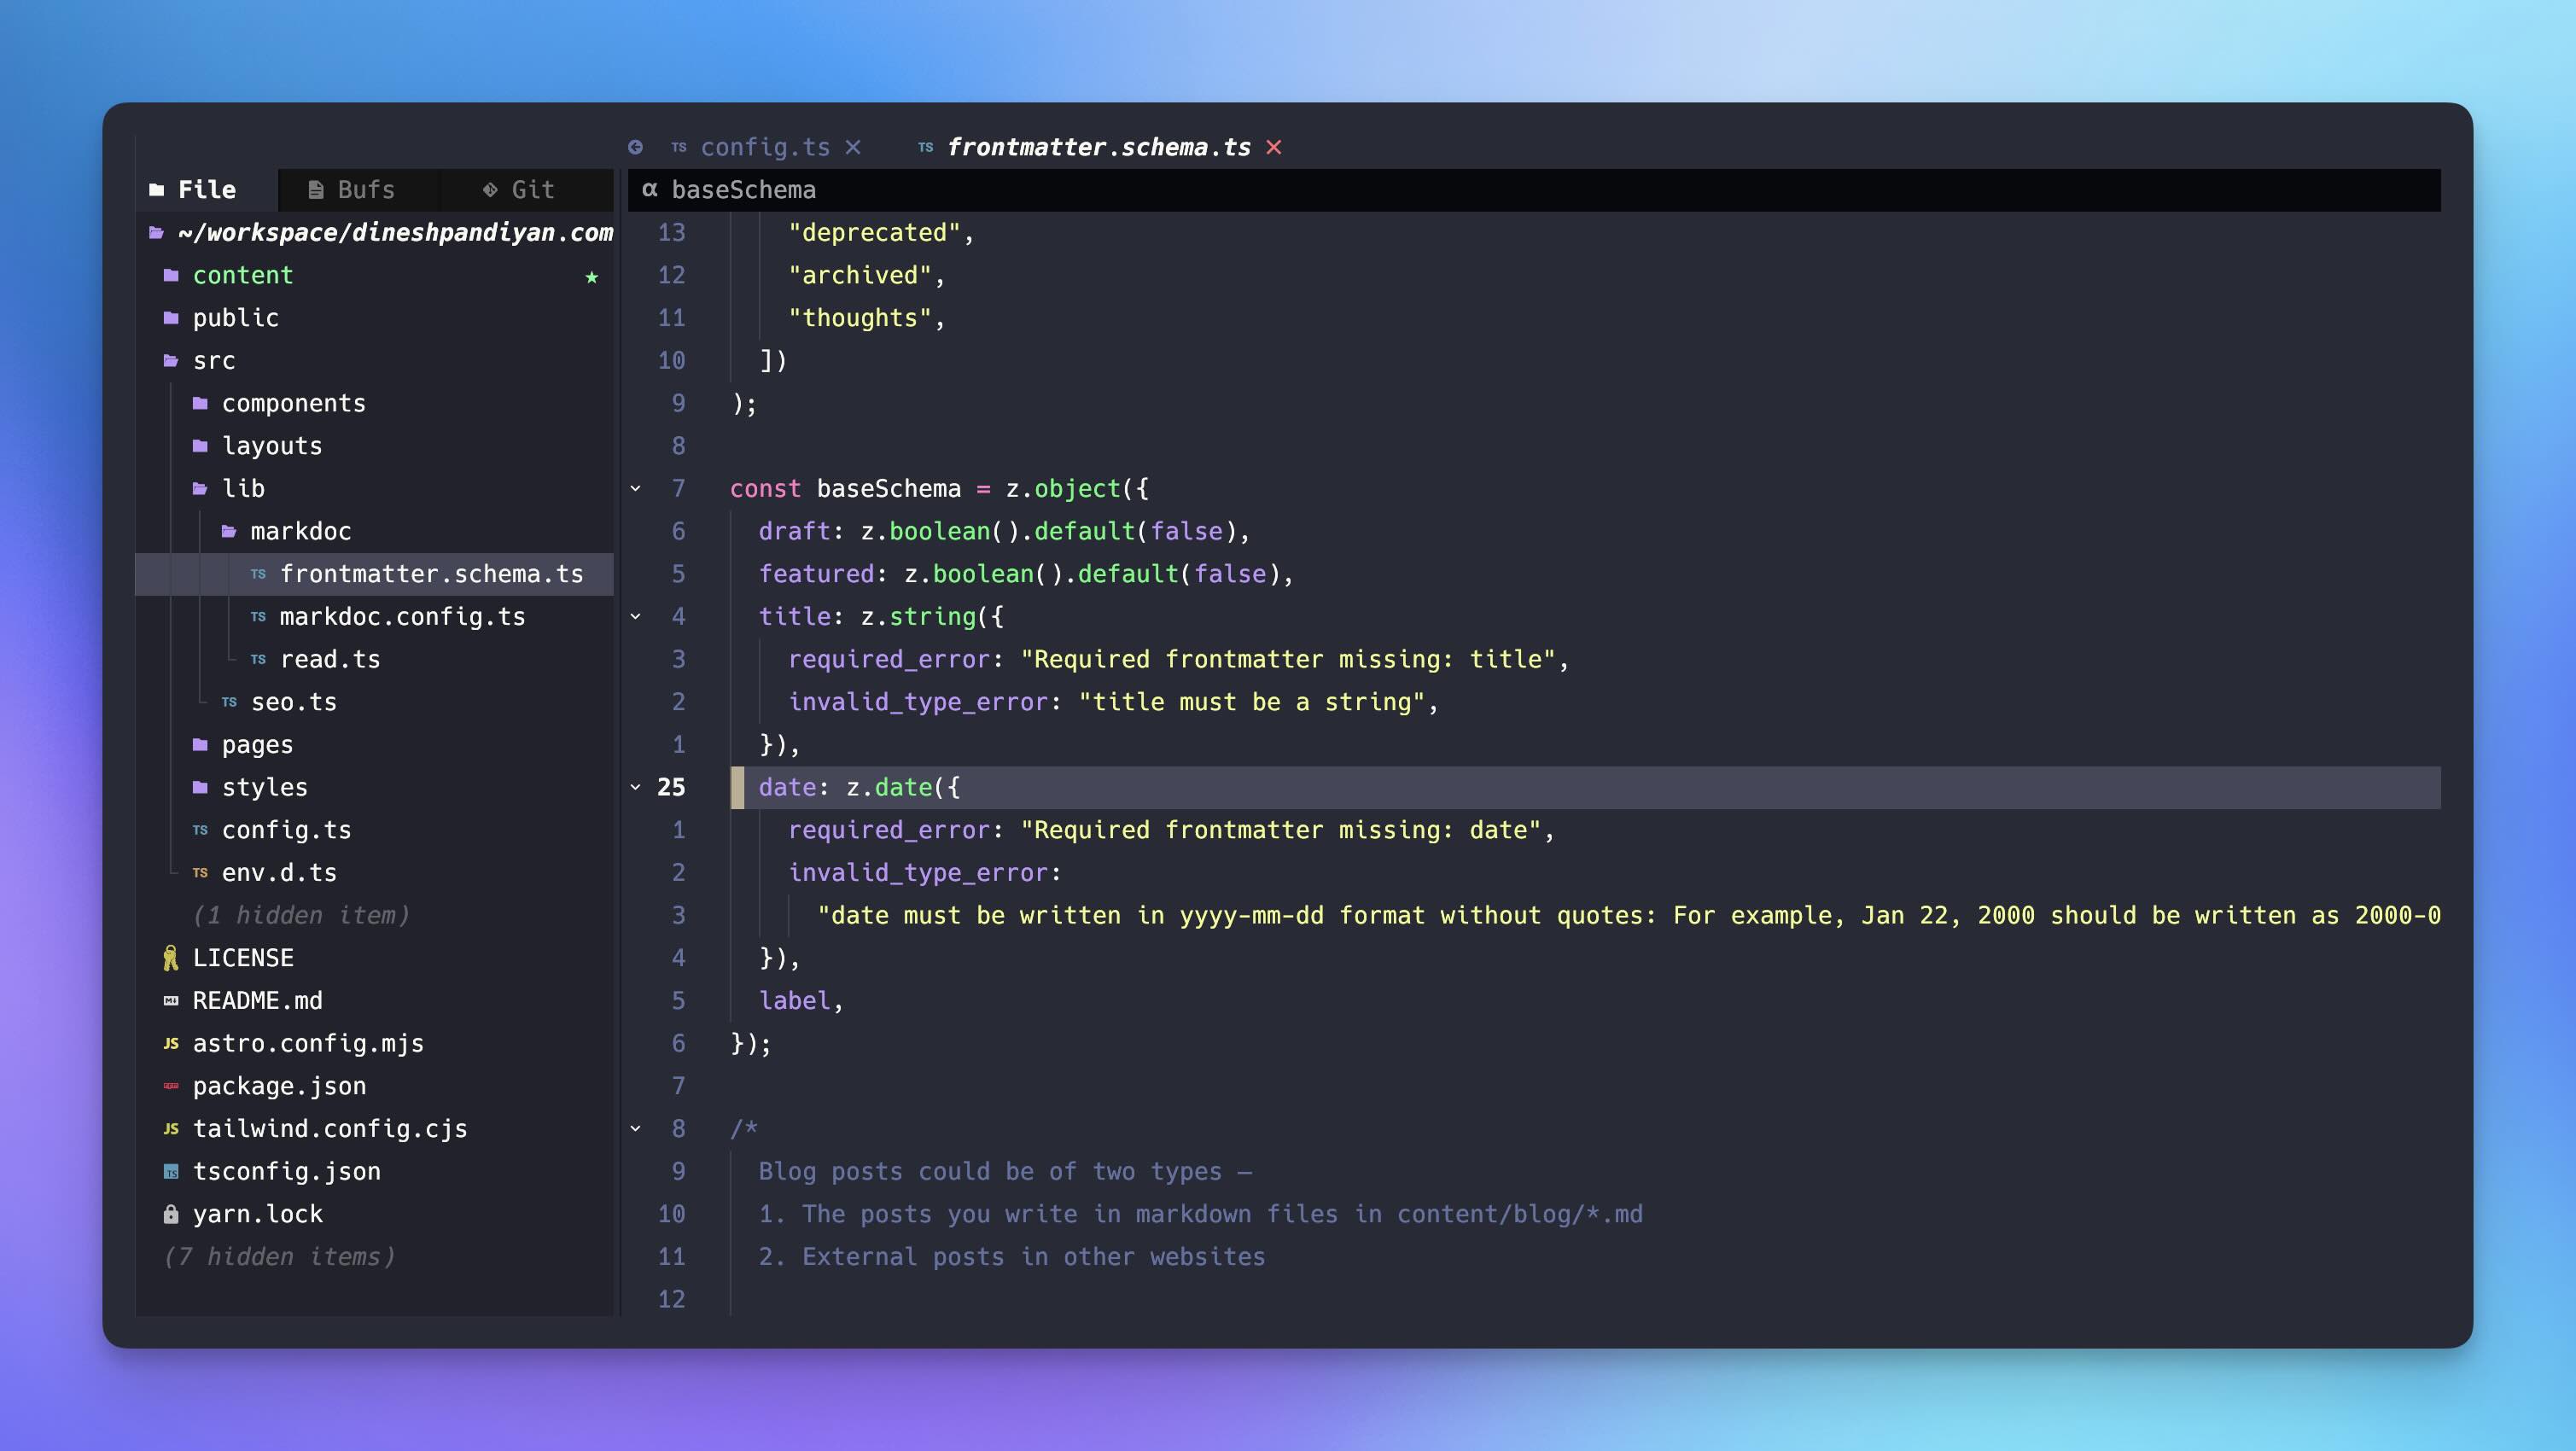
- All done. You editor should now look something like this.
